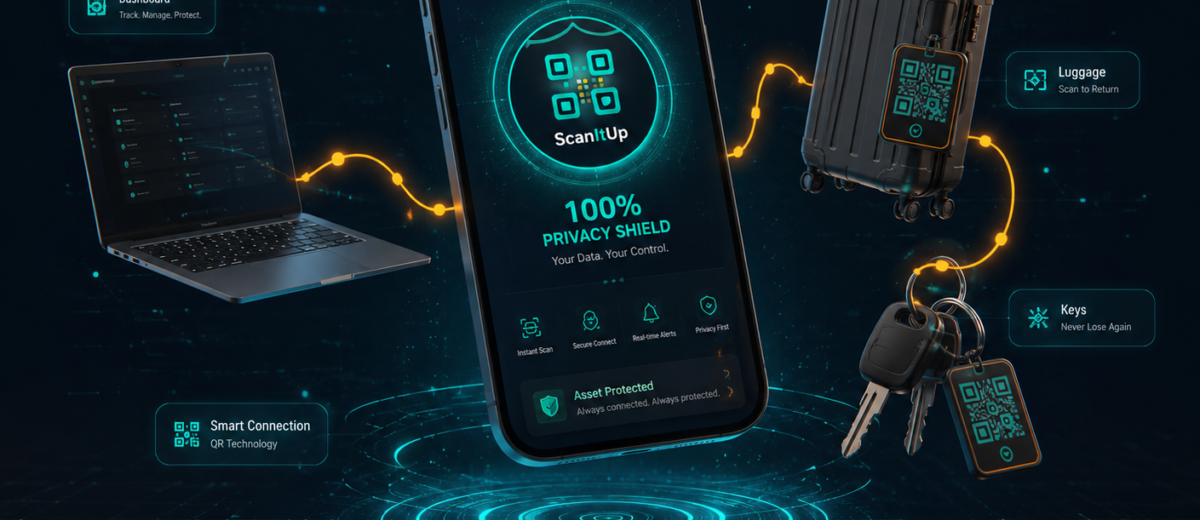
Introduction
Setting up your first QR tag takes less than five minutes. This guide walks you through every step — from creating your account to sticking your first QR code on the item you want to protect.
Step 1: Create Your Account
Go to scanitup.com and click “Create Account.” You can sign up with:
- Your email address (receive a one-time verification code)
- Google — sign in with your Google account instantly
- WhatsApp — receive an OTP on your WhatsApp number
All three methods create a fully verified, active account immediately. No waiting for email confirmation delays.
Step 2: Create Your First Tag
After logging in, click “Create New Tag” from your dashboard. You will be guided through a simple three-step process:
Choose your category
Select from Vehicle, Pets, Personal Safety, Business, Property, Service, or Education. Each category has been designed with the right fields for its specific use case.
Fill in your details
Complete the fields relevant to your tag type. Required fields are marked with an asterisk. Your phone number is often auto-filled from your profile — you can use it or change it.
Choose your plan
Select Free (no cost, basic notifications) or Pro (WhatsApp alerts, private mode, unlimited designs). You can always start free and upgrade later.
Step 3: Design Your QR Sticker
After your tag is created, click “Design Sticker.” The QR Sticker Designer opens with your tag’s QR code pre-loaded. Choose a frame, customise colours, add a text label, and preview your design. When happy, download the design as a high-resolution image.
Step 4: Print and Attach Your Sticker
Print your QR sticker on good-quality paper or waterproof sticker sheets. For vehicles, use weatherproof vinyl sticker paper. For pets, print on adhesive paper and use a plastic tag holder for protection.
Apply the sticker to your chosen item in a visible but protected location. For cars, the inside of the windscreen or bumper. For bags, the handle or front pocket. For pets, the collar or tag holder.
Step 5: Test Your Tag
Scan your own QR code with your phone to check the scan page looks correct. Verify all information is accurate. If anything needs updating, log in and edit your tag — the change is live immediately.
Step 6: Check Your Notification Settings
In your dashboard, ensure your notification preferences are set correctly. Pro users should confirm their WhatsApp number is linked and notifications are enabled.
Conclusion
That is all it takes. Your QR tag is live, scannable, and ready to help anyone who finds your item contact you immediately. From this point on, the only thing you need to do is keep your contact details up to date.
Get started for free at scanitup.com — no credit card required.